
When it came to writing our crafts ‘fun stuff’ article, we decided to learn a new skill ourselves and try origami. Half an hour later, the editorial desk was littered with attempts of paper dachshunds until finally, we made it. If this doesn’t inspire you to try a crafts course, we don’t know what will!
Step 1 – Start with a square piece of paper

Step 2 – Fold the paper in half and then fold each flap in half again towards the middle

Step 3 – Fold the paper into a square and then each side of the square in half – this should leave you with eight square segments if you unfold it all.

Step 4 – Push the corners in to meet the centre line

Step 5 – Follow the same step on all corners

Step 6 – Turn the paper over and fold the bottom up towards the middle

Step 7 – Fold the flaps inwards on the bottom and top triangles

Step 8 – Turn the paper over and fold in towards the middle on both sides

Step 9 – Then fold this in half – the legs should pop out and you can now stand your dog up

Step 10 – These are the tricky parts, pocket fold the paper upwards

Step 11 – Push the paper outwards to create the dogs face!
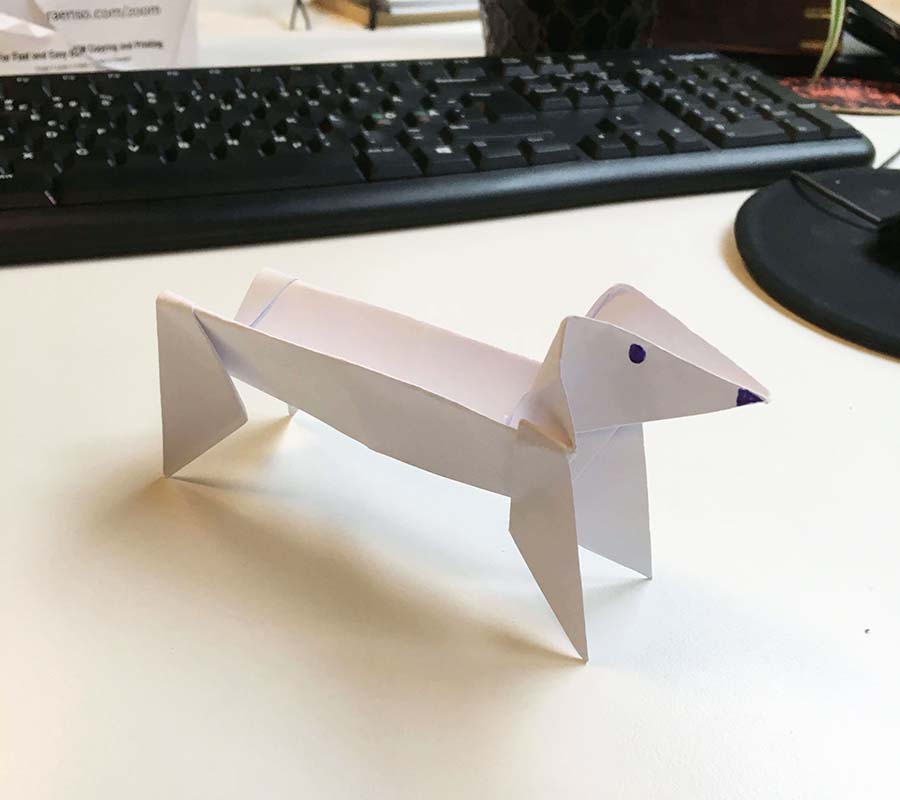
And there you have it - welcome to the team, Findcourses.co.uk dachshund! If this has inspired you to try your own crafts course, take a look at the ones listed here and get creative!